如何以React實作 Virtual Table?
完整程式碼:Virtual Table | CodePenopen_in_new
使用情境#
各家Virtual List的Library總是號稱自己好棒棒,但是真實的世界總是會面臨多種困境,以至於我們無法簡單粗暴的套用現成Library:
-
需要大量的客製化設計
眾所周知,第三方Library好處是快速驗證,壞處就是每當想要客製化樣式時,絕對是場災難
-
技術債太多
通常產品開發為求快速,一開始的需求都盡可能忽略效能,當功能越加越多,效能負擔越來越重,最終遇到了渲染時的效能瓶頸,才發現Legacy Code已經堆積如山,想改也不是一時半會的功夫
-
Library都是假表格
這其實算是個人潔癖了,html本身是帶有語意的,如果可以,應該盡可能使用正確的標籤,然而各家Library通常為了支援各種華麗的特效,會使用偽裝成表格元素來簡化實作難度,有點本末倒置而失去html原始含意
由於上述的幾個事實,我不得不說reinventing其實比reusing更有效率,也使我決定親自實作virtual table,並將過程中的體悟記錄於本文。
資料結構#
如果你的資料量多到會造成效能問題,那麼資料肯定不會是以inline的方式塞在Component裡,所以合理地假設資料結構是一個物件陣列:
1const data = [2 { id: 'a', value: 'Apple' },3 { id: 'b', value: 'Banana' },4 { id: 'c', value: 'Cat' },5 // ...6 { id: 'x', value: 'X-ray' },7 { id: 'y', value: 'Yield' },8 { id: 'z', value: 'Zebra' },9]虛擬化原理#
我們從DOM的座標系統可以計算出實際會出現在可視範圍(Viewport)內的表格列的index範圍至,而可視範圍外的表格列根本不會被看到,因此可以不進行渲染,也就是透過虛擬化可視範圍外的表格列來換取效能。實作方式可以在表格的頭尾各加上一個填充空間用的placeholder,透過計算給予精確的高度,如此就能避免跑版:
1const range = (begin, end) => [...Array(Math.max(end - begin, 0)).keys()].map(n => n + begin)2
3class VirtualTable extends Component {4  table = React.createRef()5
6  state = {7    viewportHeight: 0,8    indexBegin: 0,9    indexEnd: 0,10  }11
12  render() {13    const { rowHeight, renderRow } = this.props14    const { indexBegin, indexEnd } = this.state15
16 return (17 <table ref={this.table}>18 <tr style={{ height: rowHeight * indexBegin }} />19 {range(indexBegin, indexEnd).map(rowIndex => renderRow(data[rowIndex]))}20 <tr style={{ height: rowHeight * (data.length - indexEnd) }} />21 </table>22 )23 }24}演算法#
已知輸入:
- –資料筆數
- –Margin列數,使我們可以虛擬地擴展可視範圍,來達到預渲染可視範圍外的表格列的效果
- –可視範圍高度
- –表格每列的固定行高
- –表格第一列上緣的Y軸座標
欲求輸出:
- –可視範圍內第一個表格列的index值
- –可視範圍內最後一個表格列的index值加1
為使計算方便及符合iterator的使用慣例,指向的是可視範圍外的表格列,使渲染的表格列index範圍,完整演算法如下:
演算法實作#
在react中可以直接將演算法實作於Component的member function,input來自props、state以及呼叫DOM API的執行結果,output則套用至state中儲存:
1class VirtualTable extends Component {2  // ...3
4  syncTable = () => {5    const { marginRowCount, rowHeight, data } = this.props6    const { viewportHeight } = this.state7    const rectTable = this.table.current.getBoundingClientRect()8    const rowCount = data.length9    const heightMargin = marginRowCount * rowHeight10    const yUpper = rectTable.top + heightMargin11    const yLower = rectTable.top + rowHeight * rowCount - heightMargin12
13    let indexBegin14    let indexEnd15
16    if (0 <= yUpper && yUpper <= viewportHeight) {17      indexBegin = 018    } else if (yUpper > viewportHeight) {19      indexBegin = rowCount20    } else {21      indexBegin = Math.floor(-yUpper / rowHeight)22    }23
24    if (yLower < 0) {25      indexEnd = 026    } else if (0 <= yLower && yLower <= viewportHeight) {27      indexEnd = rowCount28    } else {29      indexEnd = rowCount - Math.floor((yLower - viewportHeight) / rowHeight)30    }31
32    this.setState({33      indexBegin,34      indexEnd,35    })36  }37
38 render() {39 // ...40 }41}事件綁定#
有了核心演算法之後,只需在viewport的scroll及resize事件中進行重繪,就能製造出如假包換的表格了!
1class VirtualTable extends Component {2  // ...3
4  componentDidMount() {5    this.handleWindowResize()6    this.handleWindowScroll()7    window.addEventListener('resize', this.handleWindowResize)8    window.addEventListener('scroll', this.handleWindowScroll)9  }10
11  componentWillUnmount() {12    window.removeEventListener('resize', this.handleWindowResize)13    window.removeEventListener('scroll', this.handleWindowScroll)14  }15
16  handleWindowResize = () => {17    const viewportHeight = Math.max(18      document.documentElement.clientHeight,19      window.innerHeight || 020    )21    this.setState({ viewportHeight }, () => this.syncTable())22  }23
24  handleWindowScroll = () => {25    this.syncTable()26  }27
28  syncTable = () => {29    // ...30  }31
32 render() {33 // ...34 }35}效果瀏覽#
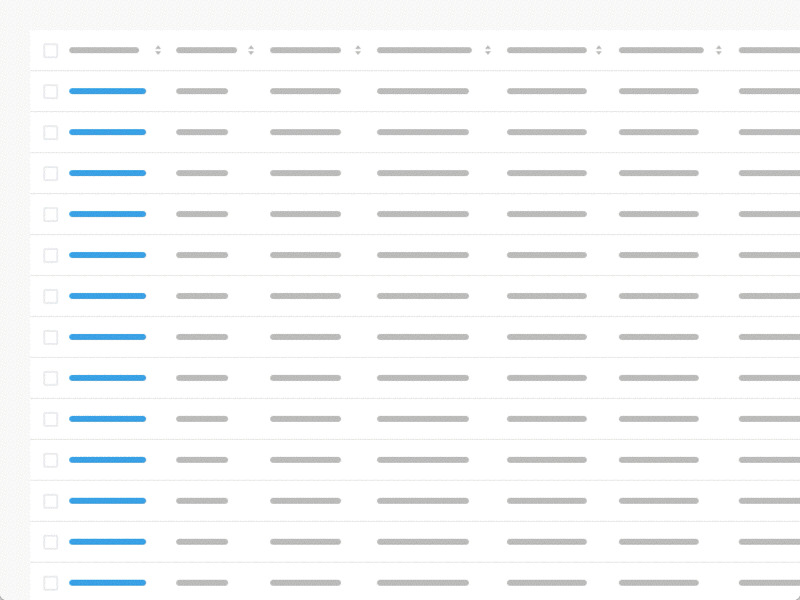
如下圖所示,隨著頁面捲動,可視範圍外的表格列不會被渲染出來,且最頂部及最底部的placeholder會不斷修正高度來避免跑版,只可視範圍內的每一列都會被渲染出來:

此外,如果將設定為負數,還可以看到有趣的效果:
結語#
其實寫過Android的朋友應該知道,ListView在OS level就實作列表的虛擬化了,然而網頁領域目前沒有原生的方式可以達到,只能透過像是本文實作的方法自行Hack。文中提供了通用的演算法,並且以react為例,以最簡潔的程式碼實作出一個POC,比起套用繁雜瑣碎的Library,其實自行實作難度一點都不高,也能保有高度客製化樣式的自由度。
Virtual Table的陷阱#
多數情況下其實我們不會用到Virtual Table,但是要使用的朋友還需注意一個小問題。由於可視範圍外的表格列沒有真的被渲染,所以真正被渲染的表格列在DOM裡的index其實是浮動的,因此諸如或之類的CSS選擇器將不適用。